
For the Lens-Artists photo challenge (LAPC) this week, Sofia asks us to look at the blurred areas in our photos, also known as bokeh. There are different opinions about the blurry area in a photo, but my perception is that it adds to the overall quality of the picture. In the first photo, I took a close-up of flowering salvia plant in my neighbor’s garden. I love the contrast of colors, but more importantly, I think the use of bokeh helps to see the tiny details on the salvia flowers, stems, and leaves.
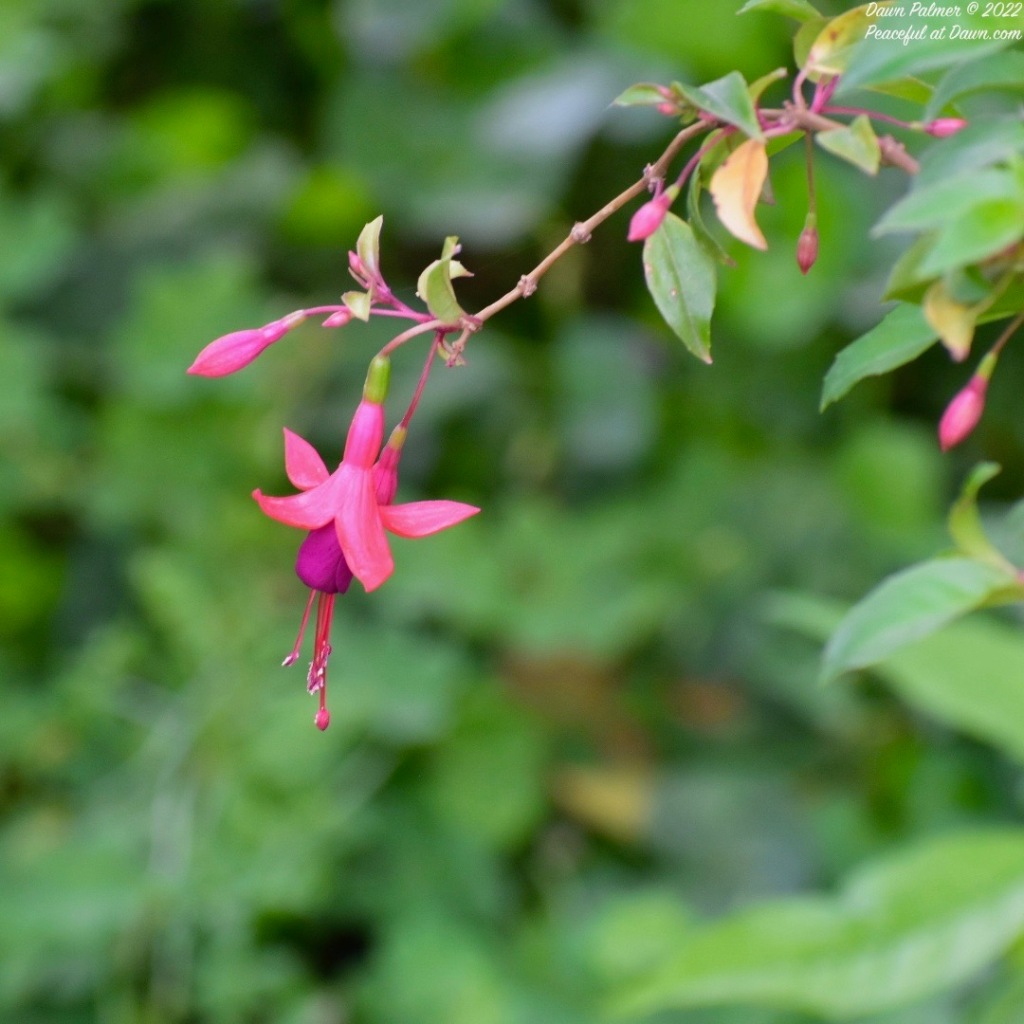
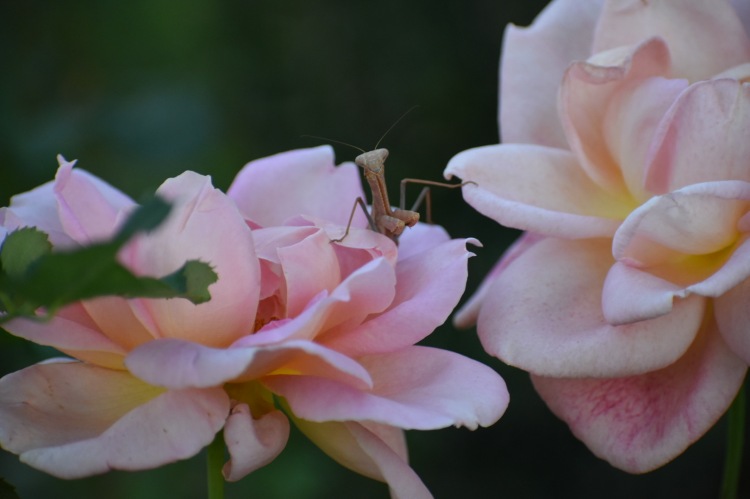
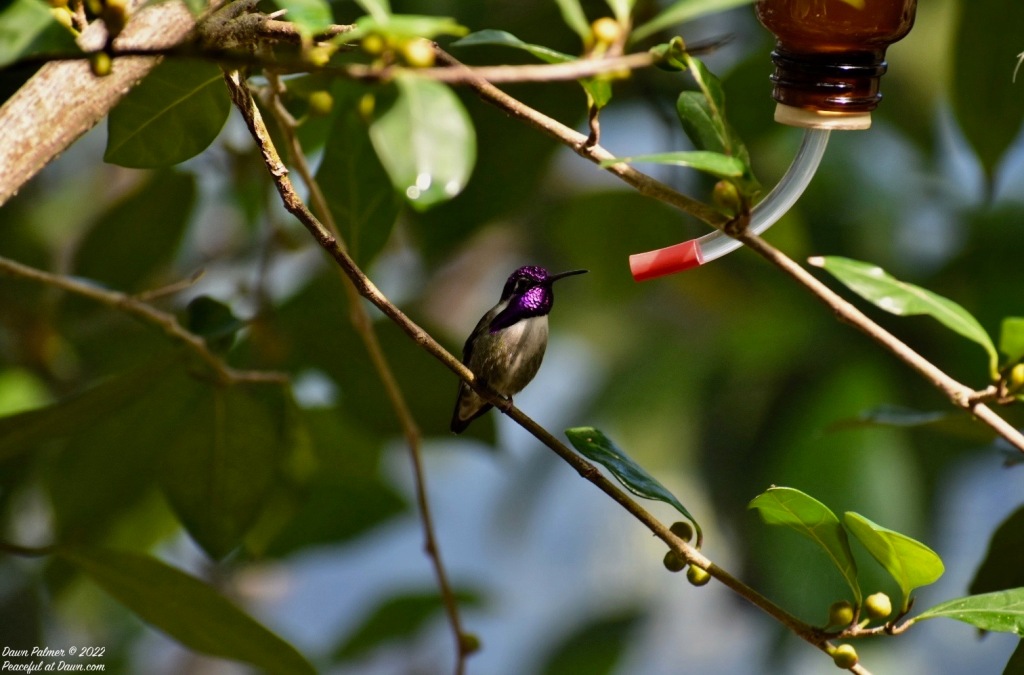
By creating the bokeh effect, there is a gentle and soft blur in the background, creating a pleasing, yet contrasting image. Sometimes I pick something with a lot of color for the background, but other times, the duller colors help create a more dramatic contrast, like the next image with the flycatcher. My favorite way to achieve bokeh is to use my 300mm DSLR lens on my Nikon and get up close to my object. (I don’t have a macro lens yet, so this is my work-around.) And, of course, when it is harder to get up close, my zoom lens helps with this issue, too.

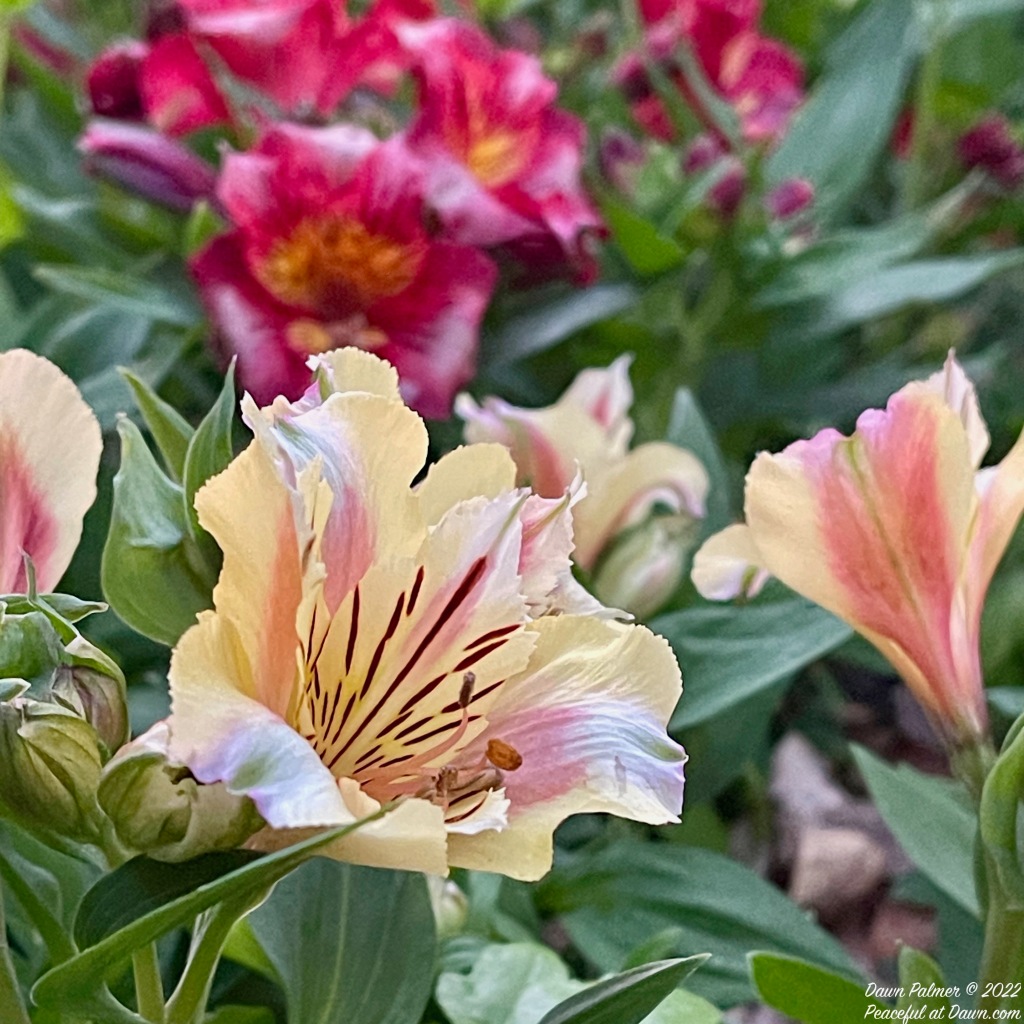
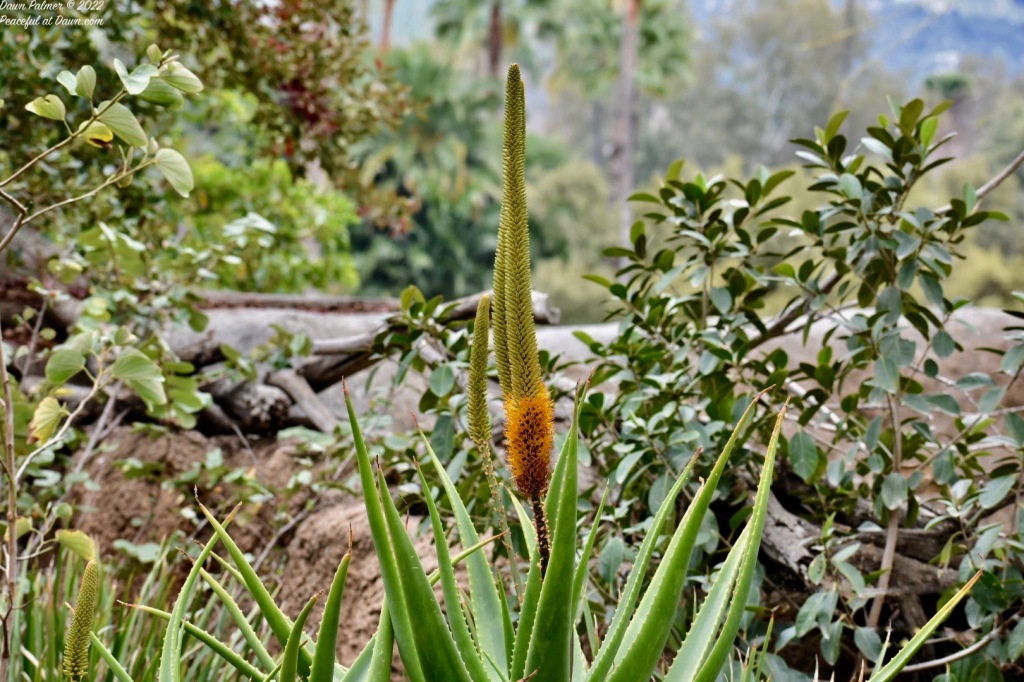
I am still learning how to manually change the aperture and shutter speed on my camera, but I noticed that when I take pictures in lower light–or my favorite, cloudy conditions–I can get a better bokeh effect. I am starting to see that when I manually adjust my aperture in less-than-favorable lighting conditions, I can still achieve a good blur behind the object. This next flower is an example of trying to create a bokeh effect with dappled sunlight in the garden (I would have preferred cloudiness or complete shade).

Besides the lighting, the background can be important. In other words, the scene that I am blurring can add to the overall story. I love getting other greenery or natural items behind the object I’m focusing on. Often, if I am taking a close-up photo of a flower, I’ll try to use the other plants in the garden for the bokeh effect. Depending on the types of plants in the background, I can get some dramatic patterns.
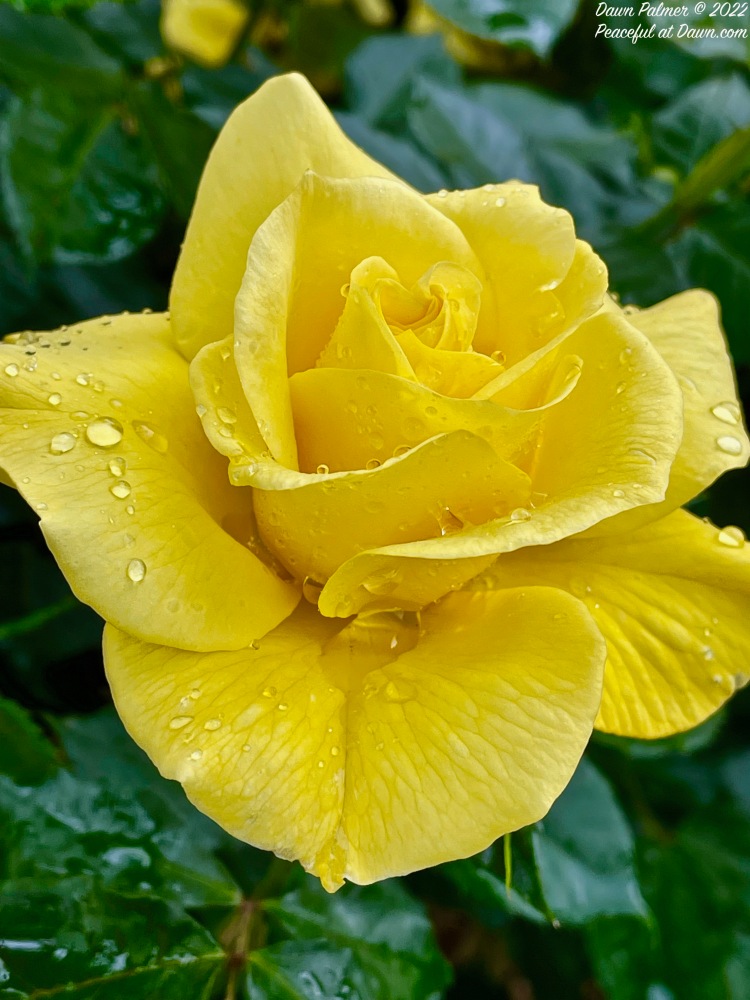
Other times, I will edit the lighting in the photo afterwards, causing the background to get darker and the object in the foreground to stand out more. I’ll use this technique if the object has a lot of details that I want to focus on, such as veins, water droplets, or other details on the plant.

Conversely, if I want a photograph of an object but don’t really like the items in the background, zooming in on the object at close range with a larger lens can help blur the undesired object behind it.


Or, better yet, the undesired objects become a great blur of color in the background, adding to the art of the photo, rather than detracting from it.

I will also darken the background when trying to create a bokeh effect, so that I can highlight other features of my subject.
This next photo is an example of using the greenery in the background to help create a contrasting bokeh effect. It also helps to hide some of the objects. If I had not zoomed in on baby Mawe and created that blurriness behind her, then it might have been harder to see her features. More importantly, without the bokeh effect, the photo would seem less natural with all of the manmade items in her enclosure.

The last type of bokeh effect I use frequently, especially with landscape photos, is to blur the background just enough to make the objects in the foreground stand out. In this way, you can still see enough of the background but have context to the overall scene.

As I learn more about photography, I plan to continue to incorporate the bokeh effect. I like the idea of generating more artful pictures with this technique.

Great variety of photos, Dawn and great examples of bokeh. I do love your bird shots!
LikeLiked by 1 person
Thank you! 😊 They’re some of my favorites too…so tiny and cute. 😊
LikeLiked by 1 person
You’re welcome.
LikeLike
Gorgeous photo showing bokeh 😀
LikeLiked by 1 person
Thank you! 😊
LikeLike
Marvelous response to the challenge and thank you for giving us the photographic details as well.
LikeLiked by 1 person
Thank you! 😊 I’m still learning, but I love bokeh. 😎
LikeLiked by 1 person
Wow. GREAT selections, all. Outstanding.
LikeLiked by 1 person
Thank you! 😊
LikeLiked by 1 person
Beautiful set of bokeh images. These bird captures are my favorite. 🙂
Thanks for sharing.
LikeLiked by 1 person
Thank you! 😊 I loved the birds too…it’s actually harder to pick which ones to post because I take so many. 🤣
LikeLiked by 1 person
💖💗
LikeLike
WOW. Such carefully taken photos and they all tell a story . The red flycatcher! That looks like a Christmas card. I loved the hummingbirds, especially the one drinking from the feeder. And the praying mantis looked like it had something to say to you. The photo from Anza-Borrego brought a smile to my face as we were just there a few months ago checking it out. I would love to go back one time during wild flower season. Beautiful photos, Dawn. Donna
LikeLiked by 1 person
Thank you! 😊 I loved the birds too…they’re so cute. 😊 Some people were creeped out by the praying mantis, but I thought he was looking right at me. 🤓 I remember your photos from Anza; they reminded me of my wildflower trip. 😎
LikeLiked by 1 person
I look forward to another time for sure.
LikeLiked by 1 person
Dawn, you did a beautiful job of illustrating and explaining the effect. You mentioned that you darkened the background in some of the photos. How did you accomplish that?
LikeLiked by 1 person
Thank you! 😊 I just use the photo editing software on my Apple laptop—nothing fancy—and I decrease the lighting. Usually, there’s a little bit of blurriness or bokeh before I do that, but when click on the lighting scale in the photo editing section on my laptop, I can drag the scale to the left or right to make it lighter or darker. I know there’s fancier ways of doing this, but that’s what I’ve tried so far. This technique also works better when it’s not super bright outside and the natural, unedited photo has some lower lighting to start with. 🤓
LikeLike